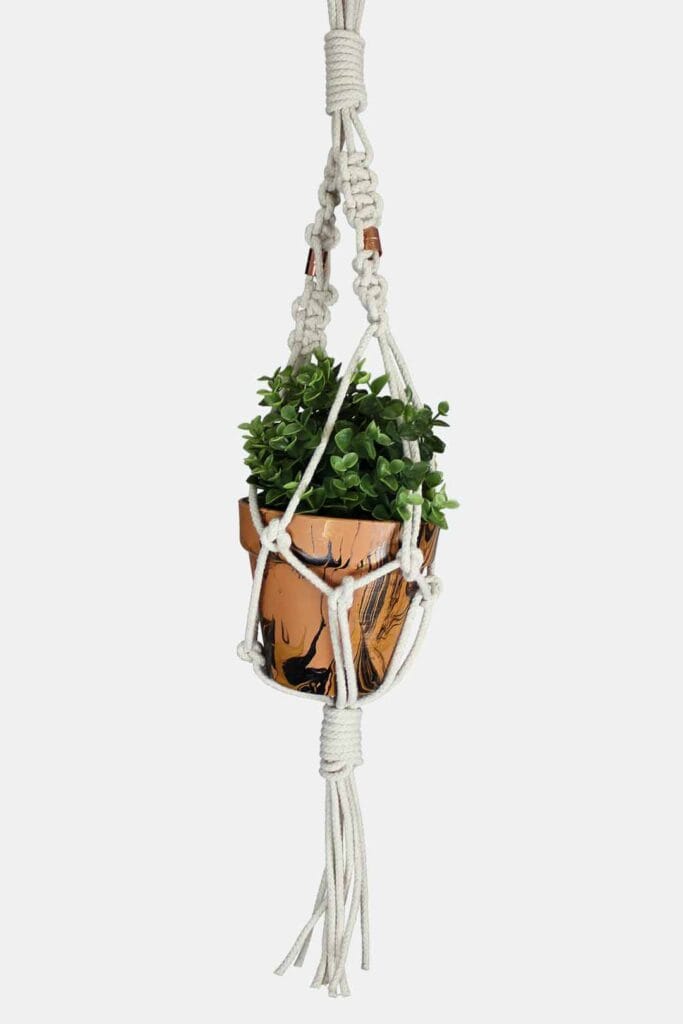
Of course, there are many ways of creating macrame pot hangers, and a tonne of different knot techniques. We think there is so much more to teach you – so hang around and we might just do so!
Add Your Heading Text Here
You may have seen macrame making its comeback from the 70s. Now re-imagined in new, stylish ways, macrame is more than knotted owls. Macrame is bowls, jewellery, wall hangings, furniture and adorable pot hangers.
Making your own macrame pot hanger is actually super simple and cheap!
Macrame supplies required:
- A pot, we used the 150mm Replicotta Round Pot by HomeLeisure that we had previously marbled for Easter using nail polish.
- Some rope or cord. We used the Grunt brand Cotton Sash Cord 5mm x 25m.
- Copper capillary coupling, we bought two x 15mm.
- Sharp scissors
- Hanging hook
- Small plant – real or fake.
To create a hanging loop, we will create a ‘Gathering Knot’. take one of the smaller cord cuttings and position it about 50mm down from the top. Make a loop by bringing the cord up to meet its starting point and wrap the excess around.
When you begin to run out of cord, push it through the loop at the bottom. Once through pull on the strand at the top until securely tucked in. Cut off the excess cord with a pair of sharp scissors.
Now the tricky part, the first knot! This particular knot is called a ‘Square Knot’ and it’s one of the first that a Macrame Master will learn. We’ve recorded a video for you to show you the process so feel free to follow along, and use the written instructions.
Begin by splitting the cords into two groups of four. Take the first group and determine two inner and two outer cords. Pass the left-hand outer cord over the inner cord to the right-hand side, under the right-hand outer cord. Then take the right-hand outer cord, loop it around the left-hand outer cord, pass it under the inner cord and through the loop created on the left-hand side. Pull tight to secure.
Repeat this process, but starting from the right-hand side. So, pass the right-hand outer cord over the inner cords to the left-hand side, under the left-hand outer cord. Then take the left-hand outer cord, loop it around the right-hand outer cord, pass it under the inner cord and through the loop created on the right-hand side. Pull tight to secure.
Repeat this process until you’ve achieved four knots.
Take the two inner cords and thread on a piece of copper coupling. These two inner cords are to now become the outer cords. To reposition them below the copper coupling and begin the square knot macrame process again. Repeat, like before, until you’ve achieved four knots.
Complete this process for the other four cords you have.
Once completed, separate the cords into groups of two, this will begin to form the basket where the pot will sit. Take the inner cords on each side and tie a simple knot approximately 150mm down the cord. Next, take one outer cord from one side, and a corresponding outer cord from the other side and knot them together in the same fashion. Repeat this step to combine the last two outer cords.
Done! Simply add a pretty pot and a nice plant (plastic plants are okay too) and hang it up!