Welcome to the second instalment of the propagation process. Our previous post, Grow plants from seeds: Propagation 101, focused on planting our seeds and ensuring the perfect growing conditions. This instalment walks through planning, re-potting and further care.Through lots of looking after, regular watering and lovely weather, our sprouts made some serious progress. It only took a week for some of our plants to sprout leaves!
But, while the leafy little sprouts may look promising, the leaves you initially see are only seed leaves (or cotyledon). These are not the actual plant’s true leaves. Once the true leaves begin to grow it’s time to re-pot your seedlings.To reduce the risk of transplant shock it’s important to handle seedlings delicately, which is where the HomeLeisure range of REKO GYO specialist products come in handy. If seedlings are not handled with care during this time, they may wilt and die once re-potted.
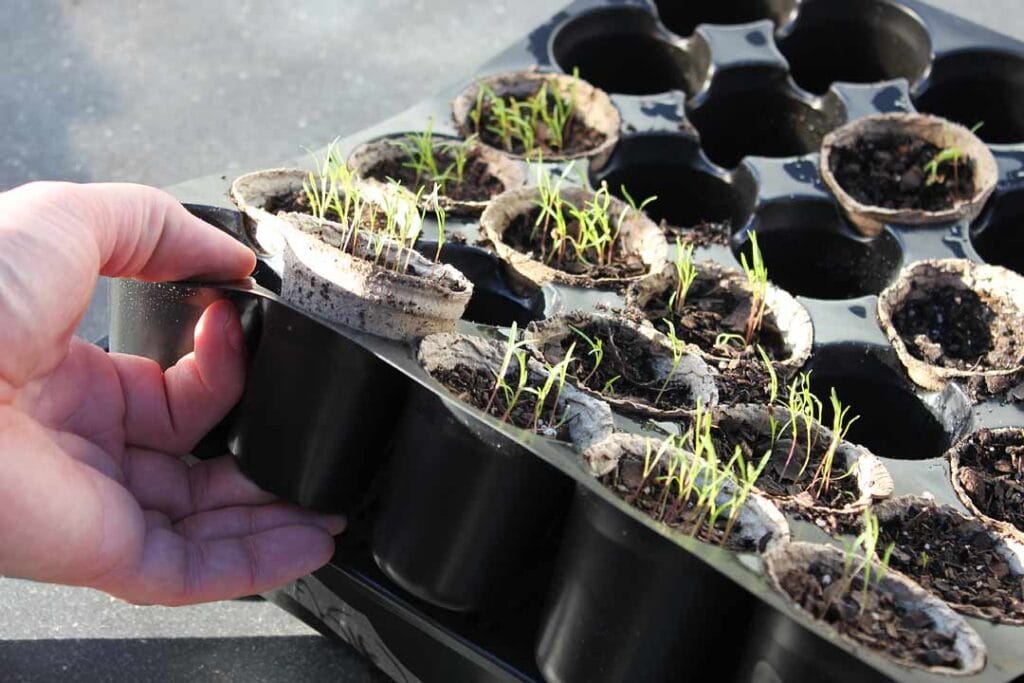
The REKO Grow Your Own 30-Cell Seedling Tray by HomeLeisure makes re-potting your seeds easier, all with a simple hole in the base. To remove, push the REKO Grow Your Own 55mm Paper Pots 90pk by HomeLeisure up by pressing your finger through the bottom of the tray. Using this combination of products massively reduces the risk of transplant shock as the soil the seedling is currently housed in remains undisturbed.
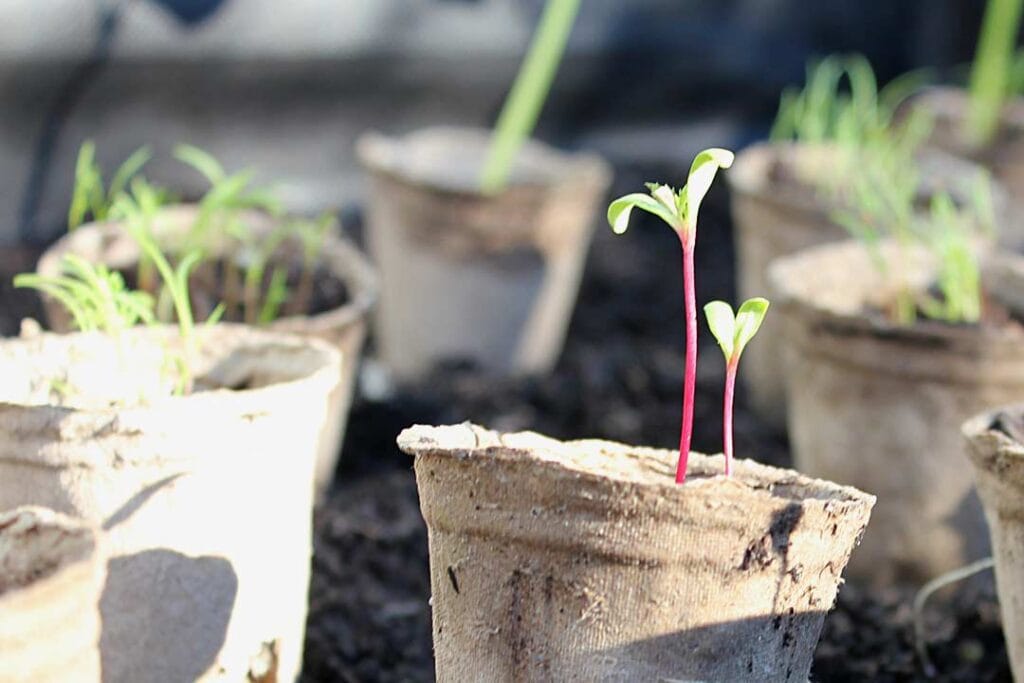
The Paper Pot can be planted directly into the soil of your veggie patch, making it easy to plan out your garden before committing to final planting locations. To determine where to plant your seedlings in relation to other plants, refer to the information provided on the back of the seed packets.
Also good to note is companion planting. This basically pairs together plants to maximise planting area, promote better crop growth and for heightened pest control. We’ve planted our tomato seedlings with marigolds, which are suggested to deter pests such as nematodes.
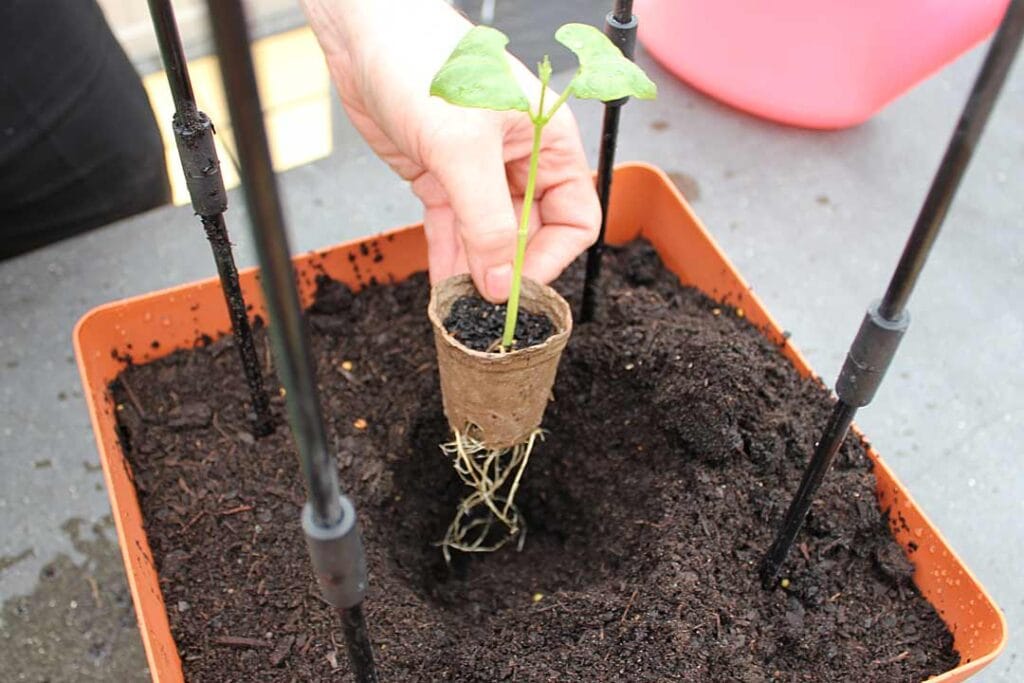
Once you’ve determined your ideal planting layout, or have chosen your planting pot, it’s time to dig and plant! Simply dig deep enough so that the Paper pot can be submerged into the soil. It will naturally break down and provide extra nutrients to the seedling as it grows into a fully-fledged plant.
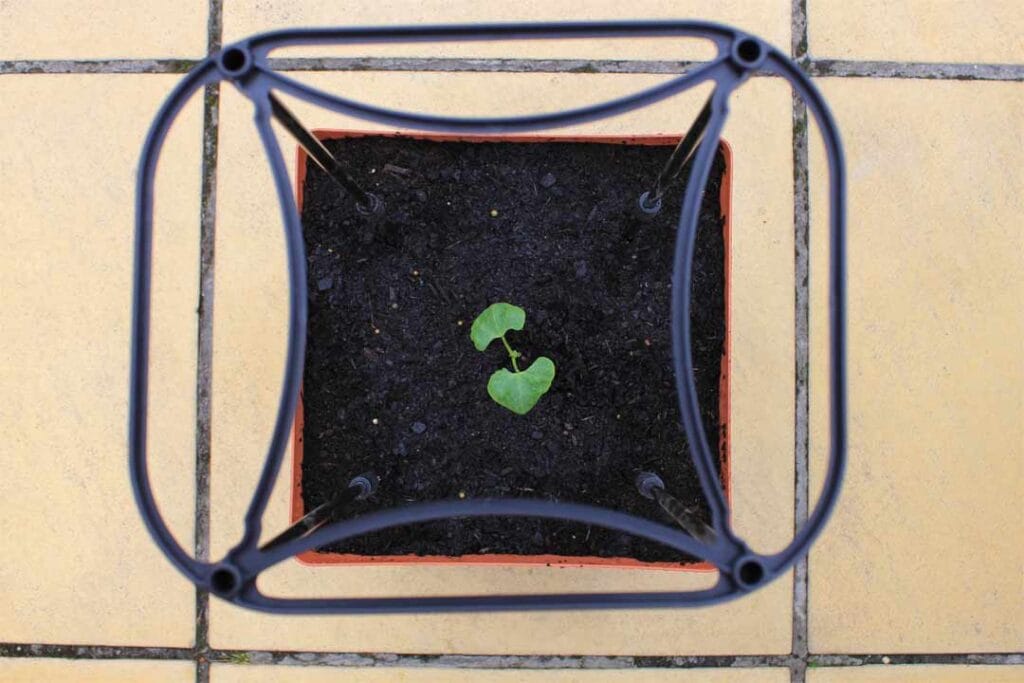
Once planted, it’s still important to take care of your seedlings as you have been previously. Ensure they are well sheltered if weather is harsh, are watered regularly with a fertiliser and water mix, and sung to at least once a week*.
Good luck and keep growing!
* Singing not necessary
[elementor-template id=”4944″]